.
It was almost two years ago that I got an email from Amanda Snavely, asking if I would be interested in being the graphic designer for a book project that the Oregon region of Studio Art Quilt Associates (SAQA) was beginning to plan. Yes, I would! Very soon I was meeting with the committee to discuss how we could bring Amanda’s vision to fruition. I am a member of SAQA and active with the local group and knew that we held an exhibition of juried work from artists within our Oregon region every two years. In the midst of a pandemic there were many questions about the feasibility and practicability of setting up venues for in-person shows, so Amanda had the idea for a book of juried work instead. The committee liked the idea and reasoned that if the pandemic slowed sufficiently in the coming year we could also plan some in-person showings of the pieces in the book. We secured a respected juror, Holly Brackmann, and invited Oregon SAQA members to submit proposals for completing a fiber art piece within a 6-month time period, taking photos and documenting the process in words, all of which would be put together in a book. 21 artists, including myself, were selected for the project.
I was very excited about the opportunity to design the book, but a bit apprehensive as well. It has been quite a few years since I retired from my graphic design career and things change pretty rapidly. I would be using newer software and more modern technology. I was rusty, but this was the kind of job that I love most of all. I hadn’t started out as a graphic designer but after getting a college degree in art, and dabbling at any kind of job that had a creative element, I decided to go back to school and actually learn how to become a graphic designer. To my great surprise, I fell in love with typography and publications. Unlike my younger fellow students who had their sights set on jobs in advertising or illustration, I was hoping for something that would have me working with publishing. I was lucky enough to go to work for a National non-profit and spent my years there producing magazines, booklets and even books, until I retired. I loved my work and enjoyed doing work that was important to people, but I always thought I would love to design a book that was about art and ideas and could be something beautiful in itself.
Once the SAQA book artists were chosen, the editor, Sharon Carvalho, and I started working out a plan and timeline and means of communicating with the artists. It was complicated, but everyone remained flexible and we ended up with a pretty smooth process in the end. It was a lot of work! There are 400 photos in the book, every one of which I had to deal with individually, resizing, tweaking color, brightness, resolution and contrast, then placing in a logical sequence that followed the text. Meanwhile Sharon was working with text, editing for word counts and style and spelling and grammar and readability and all the things that would make the content flow as a seamless set of stories. Yes, lots of work, but each time I saw that someone had added new photos to our Dropbox I got excited all over again! The artists were really embracing the challenge of telling the stories and showing the progress and decisions, and sometimes difficulties, of the work they were making. And—Sharon and I were both selected artists, so we were making our own fiber art and documenting it at the same time.
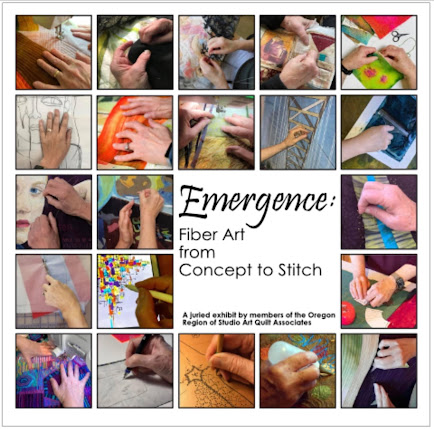
The final step was photographing the final pieces. We wanted these photos to be very good and very consistent, so we were able to hire professional photographer, Kayley Hoddick to photograph each piece. It was the final finishing touch! The printed book is now available on Amazon. The title is Emergence: Fiber Art from Concept to Stitch. I’m really proud of it.
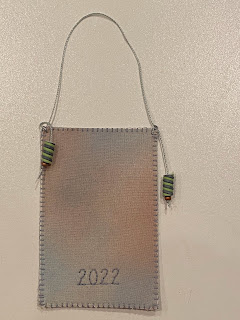
Here is my quilt for the book:
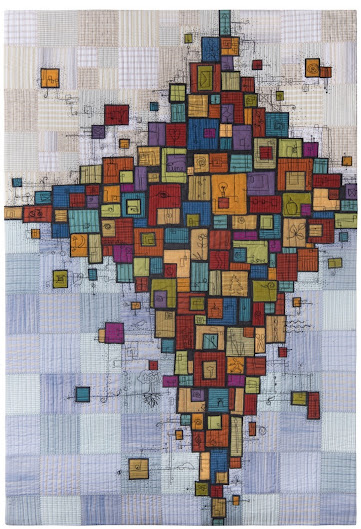
Photo by Kayley Hoddick
It is called Stories in the Cloth. I use a lot of recycled fabric, primarily men’s shirts, in my work. I like to think they have stories associated with them that I will never know. This piece is my way of expressing that thought. Below is a closeup detail.
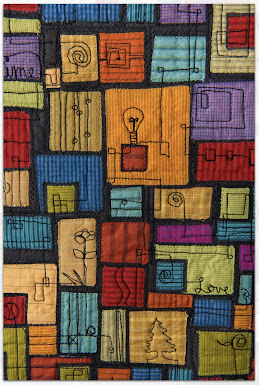
Photo by Kayley Hoddick