
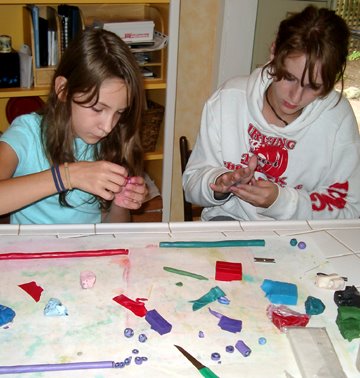
 Today I showed my nieces, Steffi and Jamie, how to make Fimo beads by first making canes with a design that can be sliced and applied over and over.
Steffi was working with a purple and red palette, Jamie was using teal and green. I was using purples.


Steffie shows off her first completed bead.
I was happy to see that the girls experimented and tried out their own ideas, rather than just copying what I was doing.
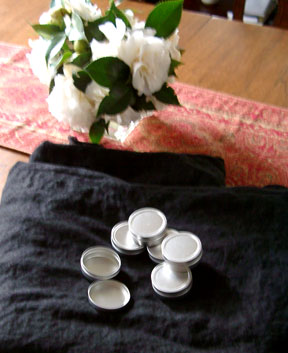
 Here are our completed beads and some tins to put them in that we covered with Fimo. Remember when I bought these nice little tins at S.C.R.A.P. back in April? I knew I'd find a use for them.
Great project. I must remember this for M & M.
ReplyDeleteYou're a great teacher, making them comfortable enough to branch out and try their own thing.
ReplyDeleteI don't know which I like best--the beads or the tins. That's looks like so much fun. Wish I'd been there.
ReplyDelete